Skip to content

Textual-Color-O-Matic

Link to Github Repository

Installation

pip install textual-coloromatic

Or using uv:

uv add textual-coloromatic

Demo app

You can instantly try out the demo app using uv or pipx:

uvx textual-coloromatic
pipx run textual-coloromatic

Or if you have it downloaded into your python environment, run it using the entry script:

textual-coloromatic

For uv users, after adding it to your environment:

uv run textual-coloromatic

Concept

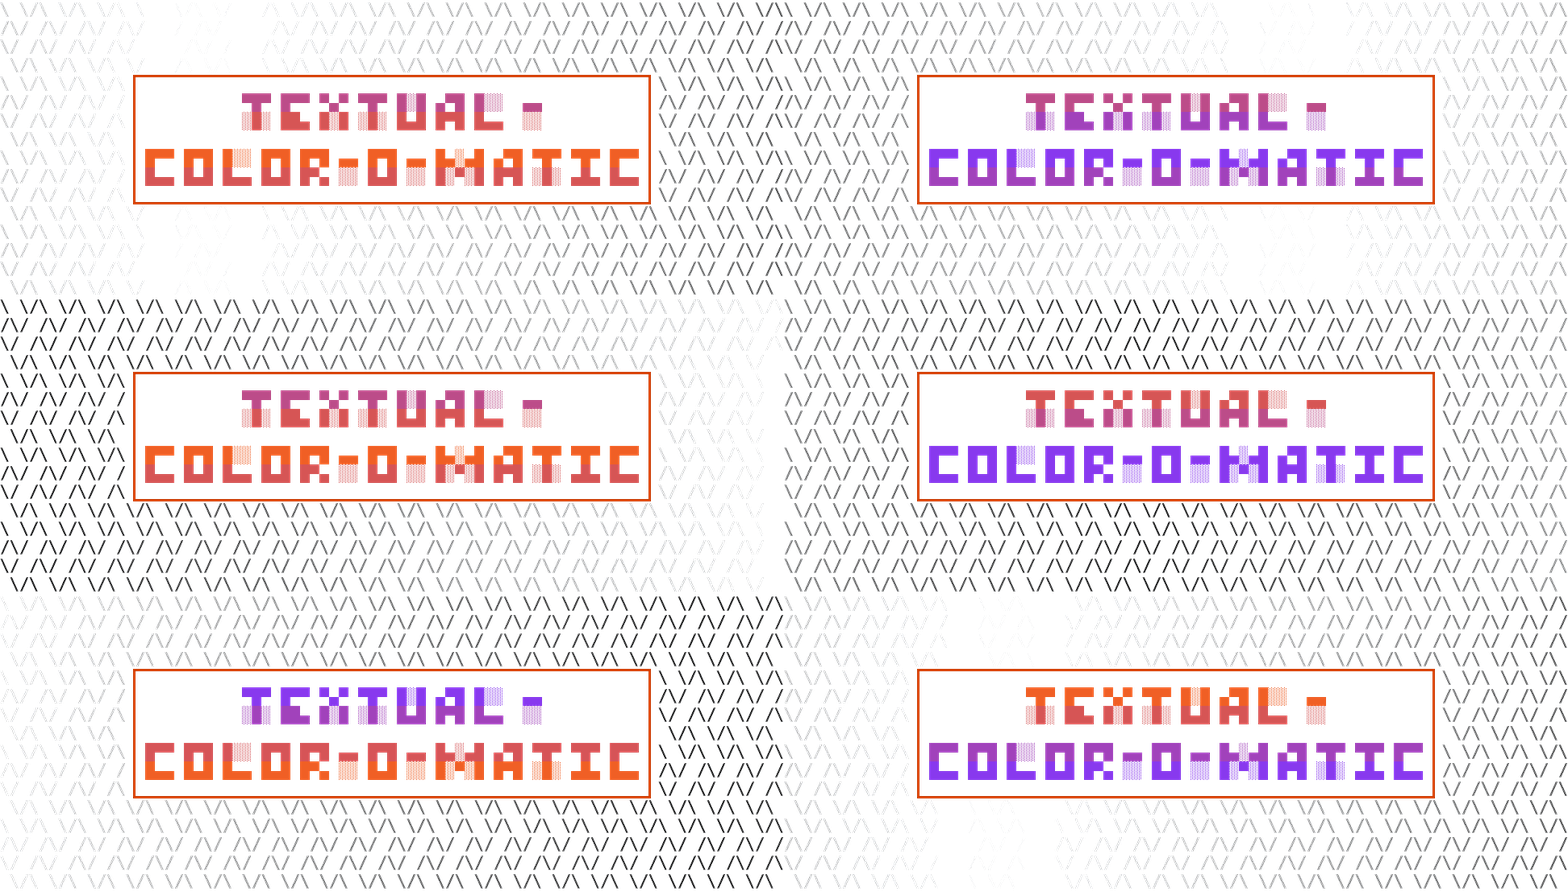
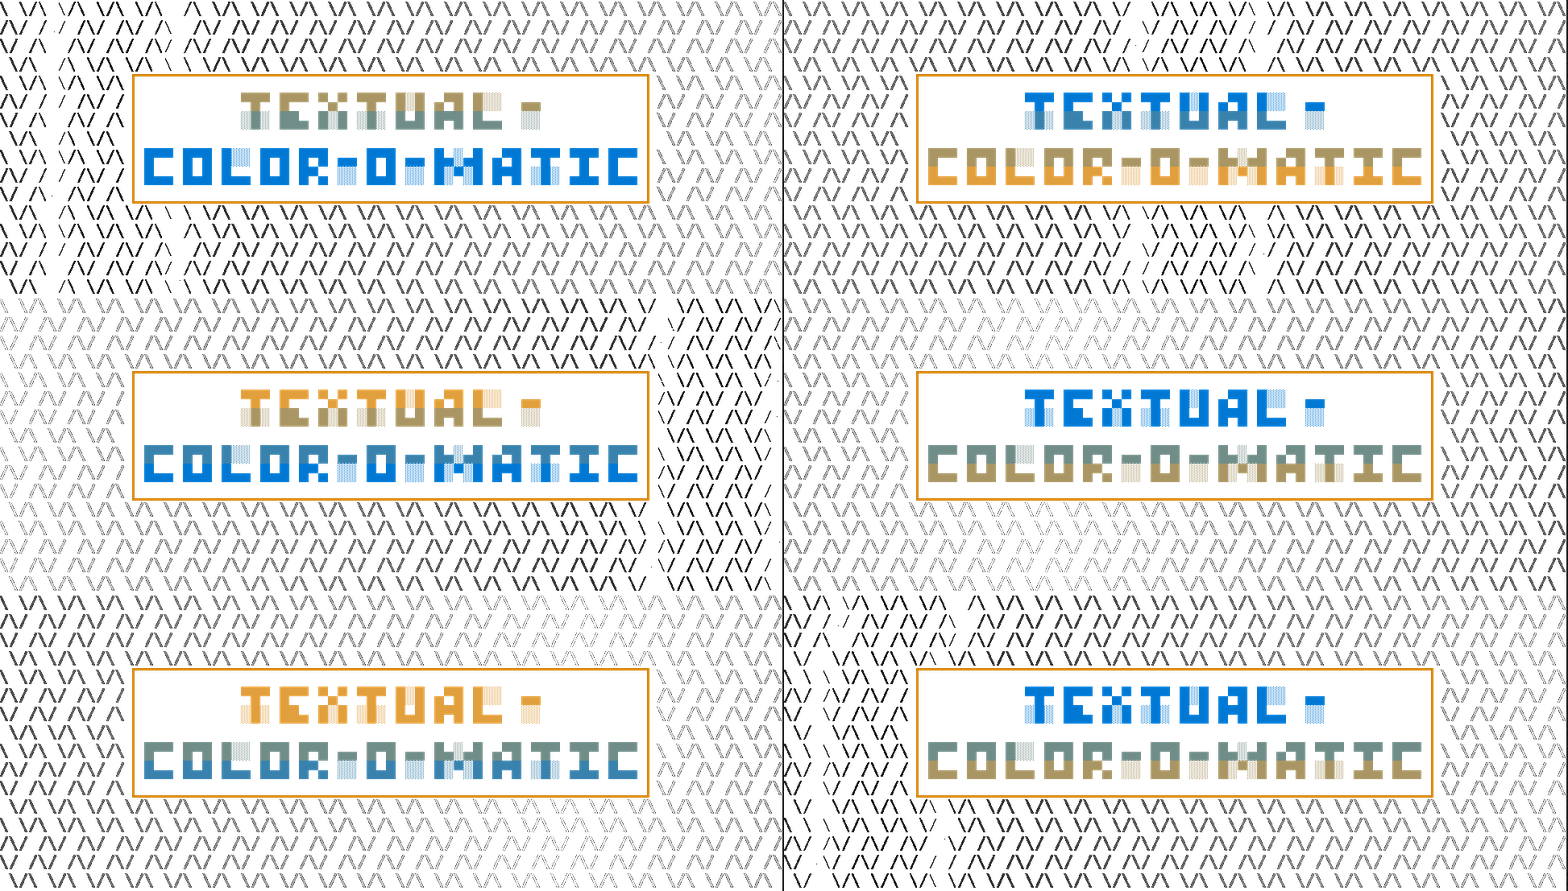
The Coloromatic is a Textual widget that allows you to create and display colorful patterns, gradients, and ASCII art. It supports a variety of built-in patterns, custom string art, and color gradients. The Coloromatic can be animated in different ways, such as smooth transitions between colors or fast strobe effects.

It comes built-in with a variety of features, including:

  • 18 built-in patterns that can be used to create colorful backgrounds or art.
  • Support for custom string art, which can be entered directly or loaded from external files.
  • A variety of color options, including named colors, hexadecimal colors, RGB, and HSL colors.
  • Animation options, including smooth transitions between colors, fast strobe effects, and gradient animations.
  • Real-time updates to the art, pattern, and colors.

See the Github repo to watch the demo video, or try the demo app using the instructions above.

Getting Started

Import into your project with:

from textual_coloromatic import Coloromatic

The Coloromatic works out of the box with default settings. Set your desired size in Textual CSS as you normally would with a Textual widget.

from textual.app import App, ComposeResult
from textual_coloromatic import Coloromatic

class MyApp(App):
    CSS = "Coloromatic { width: 1fr; height: 10; }"

    def compose(self) -> ComposeResult:
        yield Coloromatic(pattern="weave", colors=["red", "blue"])

Note that the width and height will be auto by default. This is probably what you want if displaying some kind of custom art or string, but not for patterns. When using patterns you will need to explicitly set your desired size. The above example will make a banner with width of 1fr and height of 10.

Acting as Container

A common use case will be to mount other widgets inside of the Coloromatic. This will allow you to use the Coloromatic as a background generator in a container. Mount your child widgets into the Coloromatic as you normally would:

class MyApp(App):
    CSS = """
    Coloromatic { width: 1fr; height: 10; align: center middle; } 
    .banner { width: auto; border: tall $panel; padding: 0 1; }
    """

    def compose(self) -> ComposeResult:

        with Coloromatic(pattern="brick1", colors=["red", "blue"]):
            yield Static("Your content here", classes="banner")

Notice how align: center middle; is used in the Coloromatic CSS to control the location of mounted child widgets. It's also possible to use the dock CSS property in any child widget.

It is also important to be aware that if you want to mount child widgets into the Coloromatic and then set their alignment, it is required to set some explicit size for the Coloromatic(ie. "1fr", "60%", etc) instead of using auto. Because it uses some fancy internal rendering logic (With Textual's LineAPI), using a width or height of auto will prevent alignment of any child widgets from working using the CSS align property. Other TCSS properties such as dock or offset still work as normal.

Note

The Coloromatic does not have a children argument (at the moment), so you will need to use the context manager (with Coloromatic()) in order to add child widgets during a compose method. The mount method still works as normal.

You can view this in action by toggling the "Show child" switch on the control bar in the Coloromatic Demo app.

Updating the Art or Pattern

To update the art or pattern in real-time, you can use one of several methods:

  • update_from_string to update the pattern or art using a string.
  • update_from_path to update the pattern or art using a file path.
  • set_pattern to set the pattern using a built-in pattern name.

Alternatively, you can also set the text_input or pattern reactive properties directly.

Let's see an example of updating the art in real-time using the update_from_string method:

my_string_art = """\
-(-)
-)-(\
"""
my_coloromatic = self.query_one("#my_coloromatic1", Coloromatic)
my_coloromatic.update_from_string(my_string_art)

The update_from_path method provides a more convenient way to update directly from Path objects, which is useful if you have your art stored in external files (perhaps in a directory). Here's how you can use it:

from pathlib import Path

my_coloromatic.update_from_path(Path("path/to/your/art.txt"))

In addition, setting the pattern reactive property will automatically update the Coloromatic to use one of the built-in patterns. This is shown in more detail in the "Tiling / Repeating" section below.

Tiling / Repeating

In addition to 18 built-in patterns, the Coloromatic can tile any string entered into it. Choosing a built-in pattern simplifies this process but its not necessary. The Coloromatic has a repeat argument-- choosing a pattern will set this to True automatically, but you can also input any custom string and turn it on manually. The string that you input can be any size and/or numerous lines.

def compose(self) -> ComposeResult:

    yield Coloromatic(my_pattern, repeat=True)

The pattern can also be changed or updated in real-time by either setting the pattern reactive property or using the set_pattern method:

my_coloromatic = self.query_one("#my_coloromatic1", Coloromatic)
my_coloromatic.set_pattern("brick1")

# Or set the reactive property directly:
my_coloromatic.pattern = "brick1" # (1)!
  1. The pattern property takes a string literal type, which provides auto-completion and type checking in your IDE.

There is also a repeat reactive property which can be changed in real-time:

my_coloromatic = self.query_one("#my_coloromatic1", Coloromatic)
my_coloromatic.repeat = True

You can see this in action in the demo app by toggling the "Repeat" switch on the control bar, in conjunction with the "Custom" button to enter a custom string in the pop-up dialog. It also works on art, and will gladly tile the art included in the demo. The built-in patterns are just enabling this under the hood.

Full list of built-in patterns:

  • brick1
  • brick2
  • crosses
  • fence1
  • fence2
  • fish
  • hive
  • honeycomb1
  • honeycomb2
  • honeycomb3
  • jaggedwave
  • persian
  • squares
  • tesselation1
  • tesselation2
  • tesselation3
  • triangles
  • weave

Colors

Colors are added by passing in a list of colors to the colors argument. The colors are parsed and validated by the Color class from textual.color. It supports the parsing methods of the Color class (named colors, hexadecimal, RGB, HSL), as well as using Textual theme variables ($primary, $panel, $accent, etc).

Here is an example using one named color, one hex color, and one RGB color:

def compose(self) -> ComposeResult:

    yield Coloromatic(
        pattern="squares",
        colors=["maroon", "#1ed760", "rgb(255, 0, 255)"],
    )

Passing in Textual theme variables instead will allow you to ensure that the Coloromatic matches your app user's chosen theme. The Coloromatic will update itself automatically if the user changes the theme. You can, for example, do this:

def compose(self) -> ComposeResult:

    yield Coloromatic(
        pattern="squares",
        colors=["$primary", "$accent"]
    )

In the above example, because we've used Textual-CSS theme variables, the colors will change automatically when the user changes the Textual theme. You can see this in action in the demo app by changing the Textual theme using the main Textual command palette (Ctrl+p / Cmd+p, or press the button on the footer in the bottom right corner) and selecting a different theme. The Coloromatic will automatically update to match the new theme.

Colors can be changed in real-time by using the set_color_list method:

my_coloromatic = self.query_one("#my_coloromatic1", Coloromatic)
my_coloromatic.set_color_list(["maroon", "#1ed760", "rgb(255, 0, 255)"]) # (1)!
  1. color_list is also a reactive property, but being a list it must be mutated if modified directly. This method does that for you.

Additionally there is a wide range of named colors available through Textual. To see the named colors, run textual colors using the dev tools package, and flip over to the 'named colors' tab.

Aside from the named colors and Textual-CSS theme variables, colors may be parsed from the following formats:

1) Text beginning with a # is parsed as a hexadecimal color code, where R, G, B, and A must be hexadecimal digits (0-9A-F):

- `#RGB`
- `#RGBA`
- `#RRGGBB`
- `#RRGGBBAA`

Example: `#1d9690`

2) Alternatively, RGB colors can also be specified in the format that follows, where R, G, and B must be numbers between 0 and 255 and A must be a value between 0 and 1:

- `rgb(R,G,B)`
- `rgb(R,G,B,A)`

Example: rgb(29,150,144)

3) The HSL model can also be used, with a syntax similar to the above, if H is a value between 0 and 360, S and L are percentages, and A is a value between 0 and 1:

- `hsl(H,S,L)`
- `hsla(H,S,L,A)`

Example: hsl(177,68%,35%)

Gradient Settings

There's 2 additional settings (aside from colors) that can be used to control the appearance of the gradient:

horizontal (bool)

If True, the gradient will be horizontal instead of vertical. Note this will have no effect in smooth_strobe or fast_strobe modes, as those modes do not use a direction.

This has a constructor argument as well as a corresponding reactive property that can be changed in real-time:

# Constructor argument:
yield Coloromatic(
    pattern="squares",
    colors=["$primary", "$accent"]
    horizontal=True,  # or False to make it vertical
)

# Reactive property:
my_coloromatic = self.query_one("#my_coloromatic1", Coloromatic)
my_coloromatic.horizontal = True

gradient_quality (int | str)

Refers to the number of color "stops" that are in a gradient. By default ("auto"), this will be calculated depending on the current animation type:

  • When in "gradient": If vertical, it will be calculated based on the height of the widget. If horizontal, it will be calculated based on the width of the widget.
  • When in "smooth_strobe": It will be set to (number of colors * 10).
  • When in "fast_strobe": Gradient quality will be ignored as a gradient is not made in this mode.

The color gradient will always loop itself, so if there's not enough colors to fill the entire width or height of the widget, it will loop back around. By setting the quality to be very low, you can get a retro/8-bit effect. Conversely, by setting the quality to be very high, you can make the gradient look very smooth.

This has a constructor argument as well as a corresponding reactive property that can be changed in real-time:

# Constructor argument:
yield Coloromatic(
    pattern="squares",
    colors=["#FF6347", "rgb(0, 128, 0)", "blue"]
    gradient_quality=10,  # or "auto" to use the default behavior
)

# Reactive property:
my_coloromatic = self.query_one("#my_coloromatic1", Coloromatic)
my_coloromatic.gradient_quality = 10  # or "auto" to use the default behavior

Planned Feature

At the moment there is no way to set the gradient quality to be low but still stretch the gradient to fill the entire width or height of the widget. This is a planned feature, but not yet implemented. Soon, hopefully.

Animation Settings

Animate (bool)

Whether to animate the Coloromatic or not. If set to False, the Coloromatic will not animate at all, and will just display the current gradient or pattern. This is good if you want to use the Coloromatic as a static background or art generator.

If set to True, it will use a host of sensible defaults to animate the Coloromatic in a pleasing way. The default animation type is 'gradient', which will animate the gradient in the direction specified by the horizontal and reverse settings.

This has a constructor argument as well as a corresponding reactive property that can be changed in real-time:

# Constructor argument:
yield Coloromatic(
    pattern="squares",
    colors=["red", "green", "blue"]
    animate=True
)

# Reactive property:
my_coloromatic = self.query_one("#my_coloromatic1", Coloromatic)
my_coloromatic.animated = True  # or False to stop the animation

Important Note

The constructor argument is named animate, but the reactive property is named animated to avoid conflicting with the animate method from Textual's Widget class. This was a bit of an oversight on my part, and the animate argument may be renamed to animated in a future release to match the reactive property. For now, please be aware of this difference.

Reverse (bool)

If True, the animation will run in reverse. When in vertical gradient mode (horizontal = False), this will switch the animation between running downwards and running upwards. If horizontal = True, this will switch between running from left to right and running from right to left.

This will only have a noticeable effect in 'gradient' mode, as the other modes do not have a direction. Technically, in 'smooth_strobe' or 'fast_strobe' mode it will reverse the order of the colors, but this is not very noticeable.

This has a constructor argument as well as a corresponding reactive property that can be changed in real-time:

# Constructor argument:
yield Coloromatic(
    pattern="squares",
    colors=["blueviolet", "seagreen"]
    reverse=True
)

# Reactive property:
my_coloromatic = self.query_one("#my_coloromatic1", Coloromatic)
my_coloromatic.reverse = True  # or False to run the animation in the normal direction

Animation Type (str)

The Coloromatic supports 3 different animation types, set using the animation_type argument:

  • 'gradient' will animate the current gradient it in the direction you specify (using the horizontal and reverse settings).
  • 'smooth_strobe' will create a gradient and animate the entire Coloromatic as a whole through the colors.
  • 'fast_strobe' will hard switch to the next color in the list. It does not make a gradient, and gradient_quality will be ignored.

This has a constructor argument as well as a corresponding reactive property that can be changed in real-time:

# Constructor argument:
yield Coloromatic(
    pattern="squares",
    colors=["blueviolet", "seagreen"]
    animate=True,
    animation_type="smooth_strobe"
)

# Reactive property:
my_coloromatic = self.query_one("#my_coloromatic1", Coloromatic)
my_coloromatic.animation_type = "smooth_strobe" 

FPS (float | str)

This can be either a float greater than 0, or leave blank for "auto". When in auto mode, it will use the following defaults:

  • 'gradient': 12 FPS
  • 'smooth_strobe': 8 FPS
  • 'fast_strobe': 1 FPS

Additionally, the reason this is a float and not int is so that you can set it to values such as 0.5 if you desire. Textual is not picky about using whole integers for internal auto refresh settings.

This has a constructor argument as well as a corresponding reactive property that can be changed in real-time:

# Constructor argument:
yield Coloromatic(
    pattern="squares",
    colors=["blueviolet", "seagreen"]
    animate=True,
    fps=8.0  # or "auto" to use the default behavior
)

# Reactive property:
my_coloromatic = self.query_one("#my_coloromatic1", Coloromatic)
my_coloromatic.fps = 8.0 

Using the Art Loader

The Coloromatic can also load art from directories. This is useful if you want to store art as external .txt files. You can add directories to the Coloromatic using the add_directory method. After using this method, the Coloromatic's file_dict property will be updated to include the new directory.

The file_dict property is accessible on the Coloromatic widget and can be accessed like this:

my_coloromatic = self.query_one("#my_coloromatic1", Coloromatic)
file_dict = my_coloromatic.file_dict

This is a dictionary with the directory name as the key and a list of Path objects as the value. The Path objects point to .txt files in that directory. This will always contain a key called "patterns", which is the built-in patterns directory. After using the add_directory method, your additional directories will also appear as keys in file_dict. You can access that directory like so:

my_coloromatic.add_directory("path/to/your/directory_name")
my_directory: list[Path] = my_coloromatic.file_dict["directory_name"]

Once you have Path objects, you can use the update_from_path method to update the Coloromatic:

my_art = my_directory[0]  # Get the first Path object from the list
my_coloromatic.update_from_path(my_art) # (1)!
  1. In your own app you would likely want to do something more robust, such as iterating through the list of Path objects to extract the file names.

Planned Feature

The ability to add directories to the Coloromatic should be a constructor argument in order to simplify the process. This is a planned feature, but not yet implemented. For now, you can use the add_directory method to add directories after the Coloromatic has been initialized.

Messages

The Coloromatic posts one message: Updated.

Updated

This message is posted every time the Coloromatic is updated, which includes the following conditions:

  • The Coloromatic is initialized.
  • The Coloromatic is resized.
  • The text/content is changed.
  • The animation is started or stopped.
  • The colors are changed.
  • The animation type is changed.
  • The horizontal setting is changed.
  • The gradient quality is changed.

Attributes of the message:

  • widget - The Coloromatic widget that was updated.
  • color_mode - The color mode that was set. This is a string literal type that can be 'color', 'gradient', or 'none'.
  • animated - Whether the Coloromatic is animated. This is a boolean value.

Example usage:

from textual import on
...
@on(Coloromatic.Updated)
def handle_coloromatic_updated(self, event: Coloromatic.Updated) -> None:

    self.log.debug(
        f"Coloromatic Updated: {event.widget} \n"
        f"Color mode: {event.color_mode} \n"
        f"Animated: {event.animated} \n"
        f"Current width: {event.widget.size.width} \n
        f"Current height: {event.widget.size.height}"
    )
    # Do whatever else you want with the event here.

# OR using the other method:
def on_coloromatic_updated(self, event: Coloromatic.Updated) -> None:
    # handle event here

Example App

Here is a complete example of a Textual app that uses the Coloromatic. You can copy and paste this code.

from textual.app import App, ComposeResult
from textual.widgets import Static
from textual_coloromatic import Coloromatic

my_pattern = """\
-(-)
-)-(\
"""

class MyTextualApp(App[None]):

    CSS = """
    Screen { align: center middle; }
    Coloromatic { 
        width: 60%; height: 60%; 
        align: center middle;
        border: heavy $panel;
    } 
    .banner {
        width: auto; height: auto; 
        border: tall $accent-darken-2;
        padding: 0 1;
    }
    """

    def compose(self) -> ComposeResult:

        with Coloromatic(
            my_pattern,
            repeat=True,
            colors=[
                "#663399",
                "rgb(124,76,205)",
                "steelblue",
                "$accent"
            ],
            animate=True,
            # animation_type="smooth_strobe" (1)
            horizontal=True,
            reverse=True,
            fps=15,
            id="my_coloromatic1"
        ):
            yield Static("Your content here", classes="banner")


MyTextualApp().run()
  1. The animation type is "gradient" by default. Setting it to "smooth_strobe" or "fast_strobe" would cause the horizontal argument to have no effect, and reverse would not be noticeable.

Format for Art Files

The Coloromatic at the moment only supports .txt files for art. The format is very simple. It will look for a line of dashes to separate the header / metadata from the art (at least 3 dashes long). The header can contain any number of lines. Here is an example of a valid art file:

Downloaded from www.asciiart.eu

https://www.asciiart.eu/art-and-design/patterns
-----------------------------------------------

_|___|___|__
___|___|___|
_|___|___|__
___|___|___|

It will automatically strip any blank lines before and after the art. However, note that you should ensure each line in the pattern has trailing whitespace left intact, in order to ensure the art is displayed correctly.